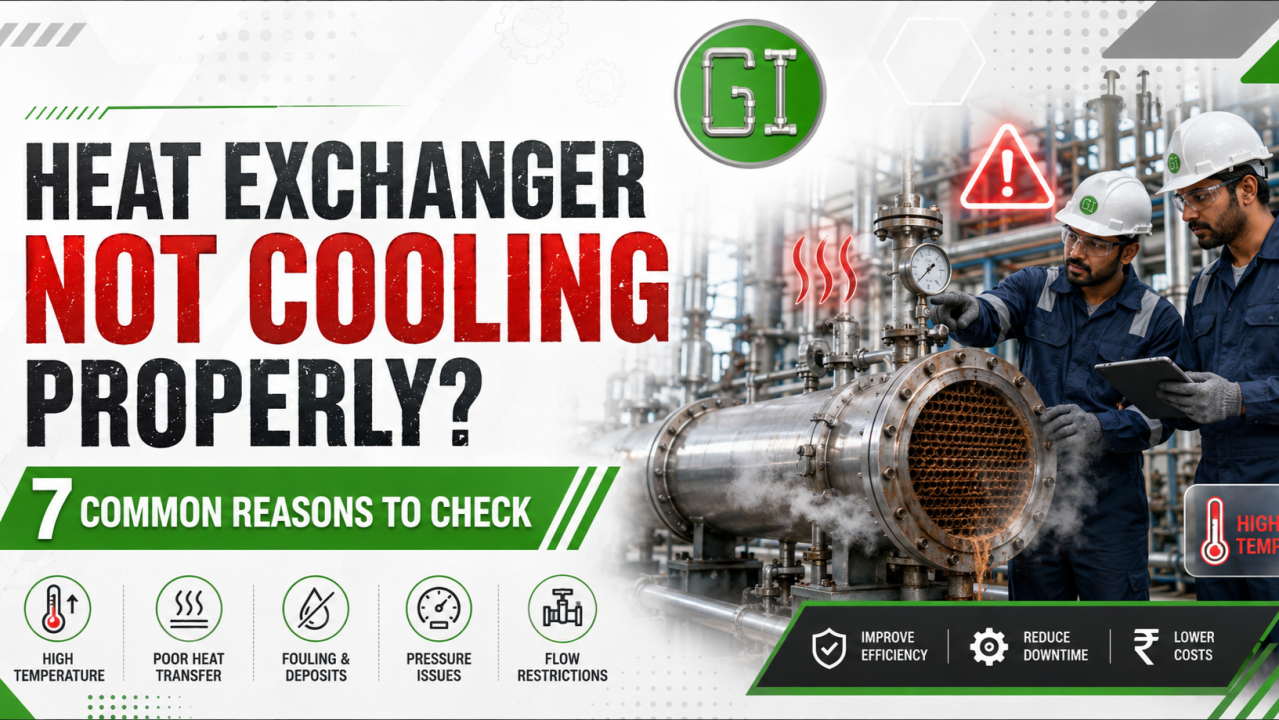
When a heat exchanger stops reaching the required outlet temperature, the exchanger itself is only one possible cause. Start with verified operating data and follow a disciplined sequence before cleaning, opening, or replacing equipment.
Confirm the four temperatures
Record hot-side inlet and outlet temperatures plus cold-side inlet and outlet temperatures. Verify flow rates, pressure drop, valve positions, pump or fan condition, and the target production rate. These values show whether the heat-transfer driving force or the flow condition has changed.
1. Fouling, scale, or dirt
Deposits act as insulation and can also restrict flow. A gradual fall in heat duty, often combined with rising pressure drop, points toward fouling. Review water treatment, fluid cleanliness, cleaning intervals, and previous inspection findings.
2. Cooling-medium flow is too low
Check pump speed, fan operation, control valves, strainers, cooling-tower performance, and recirculation. A partially closed valve or blocked strainer can reduce cooling without an obvious equipment failure.
3. Cooling water or air is too warm
Seasonal ambient temperature, cooling-tower limits, recirculation, or another upstream load may raise the coolant inlet temperature. If the driving temperature difference falls, the same exchanger cannot remove the original heat load.
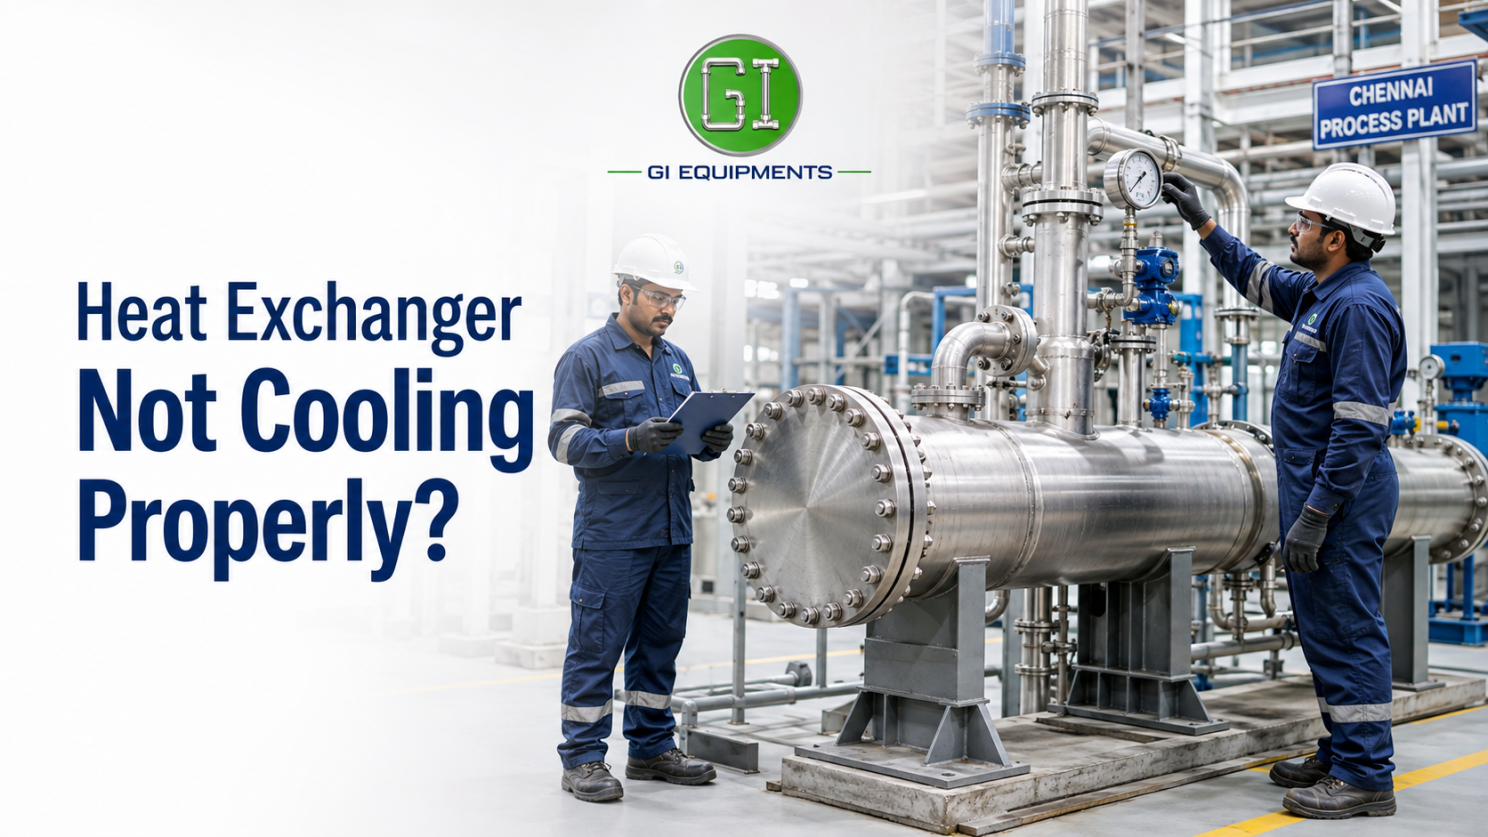
4. Air or gas is trapped
Gas pockets reduce the active heat-transfer area and can create unstable flow. Check vents, high points, startup procedure, flashing conditions, and whether the exchanger is installed in the intended orientation.
5. Flow is bypassing the intended path
Incorrect valve alignment, a leaking bypass, damaged baffles, or poor gasket seating may allow fluid to avoid the effective surface. Review piping alignment and compare performance before and after maintenance work.
6. Internal leakage or damage
Tube leakage, plate failure, damaged seals, erosion, or corrosion can mix fluids or reduce duty. Look for product contamination, unexpected pressure behaviour, abnormal level, or chemistry changes. Use appropriate pressure, leak, or integrity testing.
7. Process load is above the original design
Production rate, inlet temperature, product grade, viscosity, or required outlet temperature may have changed since the exchanger was selected. Compare current duty with the original design sheet before concluding that the equipment is defective.
Use this troubleshooting order
- Validate temperature, pressure, and flow instruments.
- Compare current data with the clean design condition.
- Check coolant supply, pumps, fans, valves, strainers, and bypasses.
- Vent the exchanger correctly and observe stability.
- Review fouling history, fluid condition, and pressure-drop trend.
- Inspect internally or test for leakage when evidence justifies it.
Final thought
Good troubleshooting separates a system problem from an exchanger problem. Reliable measurements and a consistent operating baseline usually reveal whether the root cause is reduced flow, warmer coolant, fouling, gas binding, bypassing, internal damage, or increased process duty.

Reviewing exchanger performance?
Share your four temperatures, flow rates, pressures, fluid data, and maintenance history with GI Equipments. Start an enquiry.